Understanding the Difference Between Flat Embroidery and Cap Embroidery
Understanding the Difference Between Flat Embroidery and Cap Embroidery: Stitch Direction and DST File Setupy
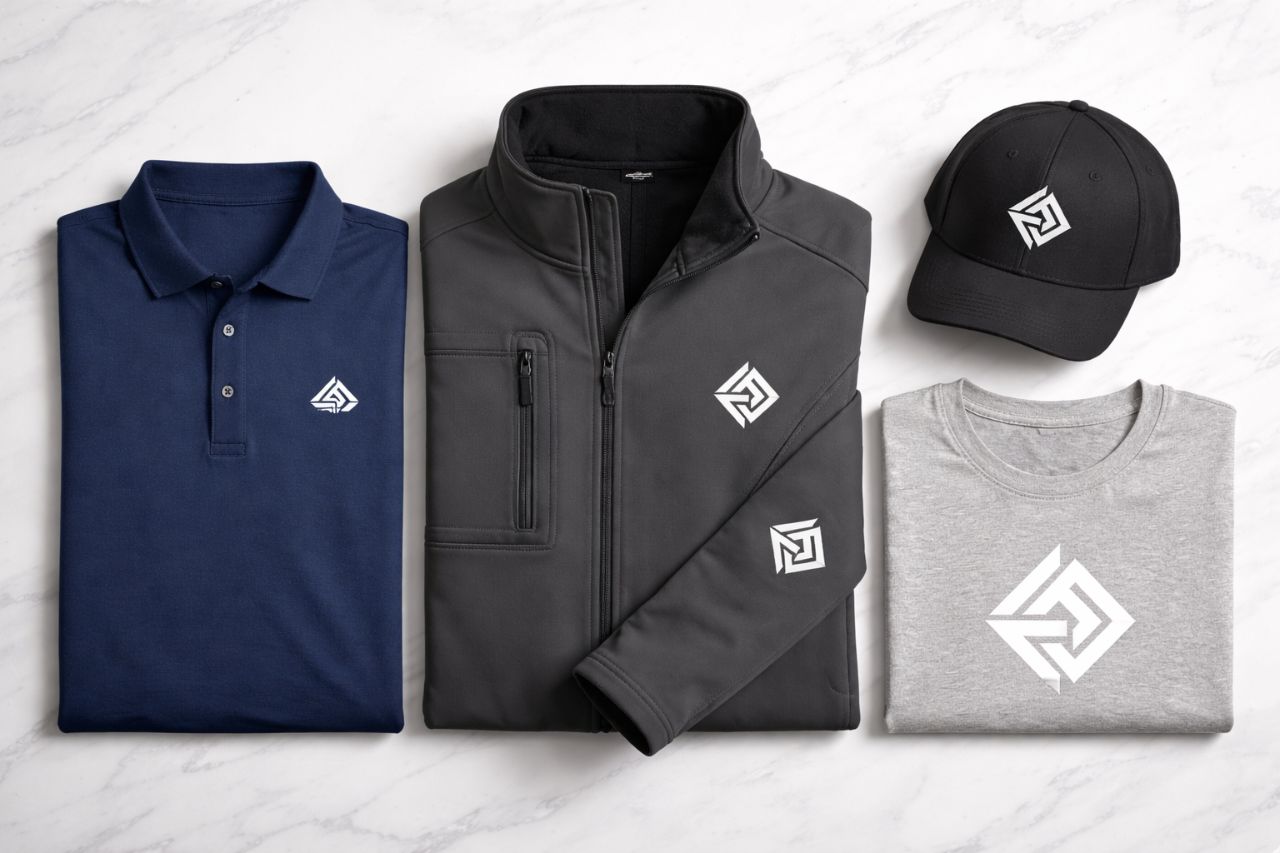
When embroidering designs, the approach to stitching can vary significantly depending on whether the item is flat (like a T-shirt or hoodie) or a curved surface like a cap. This difference impacts how the DST (embroidery machine file) is created and how the machine stitches the design. Here’s a breakdown of why it matters:
1. Flat Embroidery (e.g., T-shirts, jackets, bags):
Example
Stitch Direction: The design typically starts on one side—often the left—and moves to the right, or vice versa, depending on the digitizer’s preference.
Reason: Flat items are stable, and there’s minimal risk of distortion during stitching. The fabric stays taut in the hoop, allowing the machine to embroider in a continuous, linear fashion.
Result: Clean, consistent stitching with minimal risk of design shift.
2. Cap Embroidery:
Stitch Direction: Cap-optimized DST files are usually digitized to start in the center of the design and move outward—first to the right, then back to the left.
Reason: Caps have a curved surface and a center seam, which creates tension and instability. Starting in the center anchors the design and minimizes the risk of puckering, shifting, or misalignment, especially over the seam.
Result: Better design accuracy, reduced distortion, and a cleaner look on the front of the cap.
Why This Matters for DST Files
A DST file optimized for a flat garment may not stitch correctly on a cap. Even if the design looks the same visually, the stitching order and path need to be adjusted for the unique structure of a hat.
If a DST file isn’t digitized specifically for a cap, the result can include:
- Misaligned design
- Uneven tension or puckering
- Poor registration, especially across the center seam
That’s why we request cap-specific DST files or recommend digitizing the design for caps from the start.